


Total Bathrooms – Beautiful Bathrooms, Outstanding Products, Expert Design
Welcome to Total Bathrooms in Bath – one of the largest independent bathroom showrooms in the South West. Our team have been proudly serving customers across Bath, Bristol, and surrounding areas since 2000. As a local, family-run business, we combine outstanding product choice with expert, honest advice and a truly personalised service. Whether you’re planning a full bathroom renovation, redesigning a wet room, updating a cloakroom, or simply replacing a few fittings, our experienced team is here to support you and we want you to feel confident and excited about your new bathroom design.
With a spacious two-floor showroom with over 70 inspirational bathroom displays, and one of the region’s best-known bathroom clearance outlets, we’re well equipped to help you bring your vision to life – whatever your space or budget.
Expert Advice & Bathroom Design Services
At Total Bathrooms, we do more than just sell bathroom fittings – we help you design a bathroom that works for your lifestyle and space. Our experienced in-house designers offer a free bathroom design consultation, which can take place in our Bath showroom or we can come to measure up for you at home (free within 15 miles or 40 minute drive). If you’re visiting the showroom, simply bring along some rough measurements and a few photos to get started.
Our expert bathroom designers will work with you to create a tailored 2D plan and then develop this into stunning 3D visuals. You can even opt for a photo-realistic upgrade and receive a 360-degree virtual version of your design to view on your phone, tablet, or computer. Our goal is to make the process clear, collaborative, and enjoyable – and to help you visualise the space before a single tile is laid.


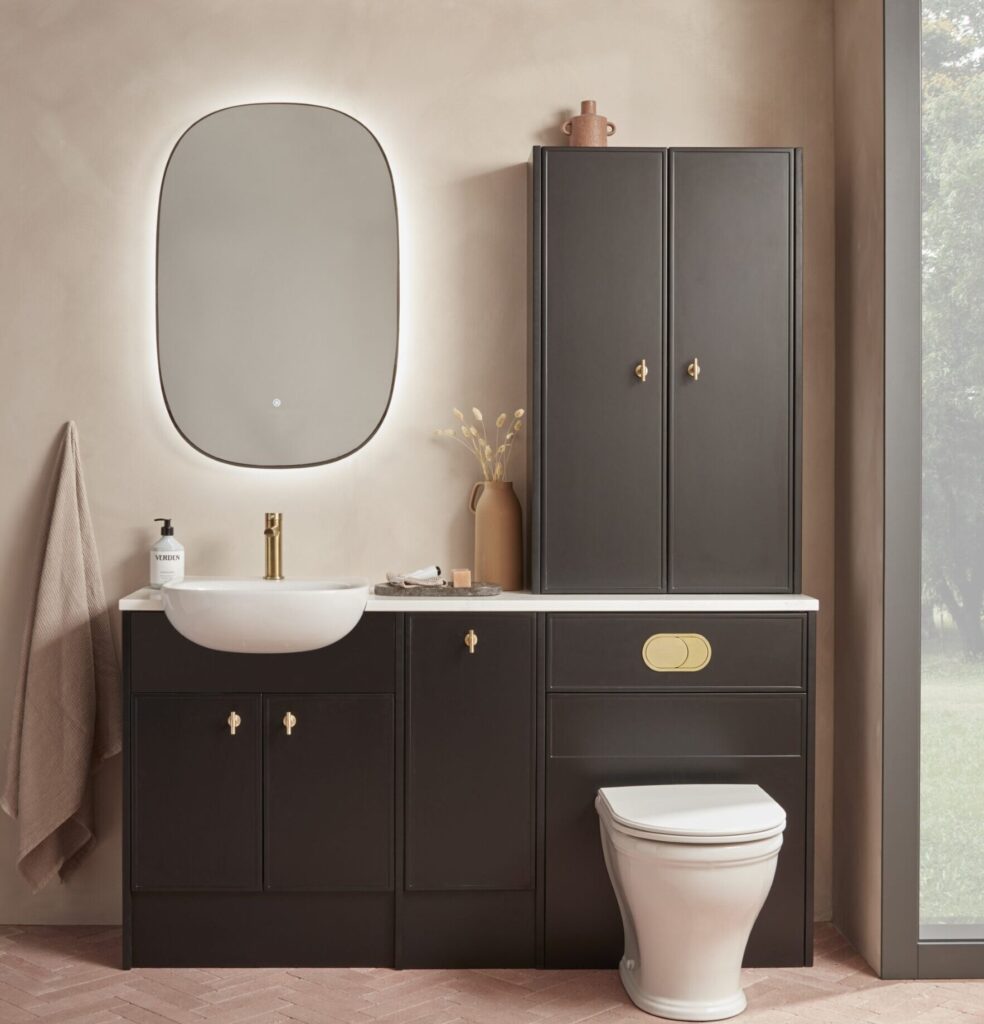
Discover Our Extensive Bathroom Product Range
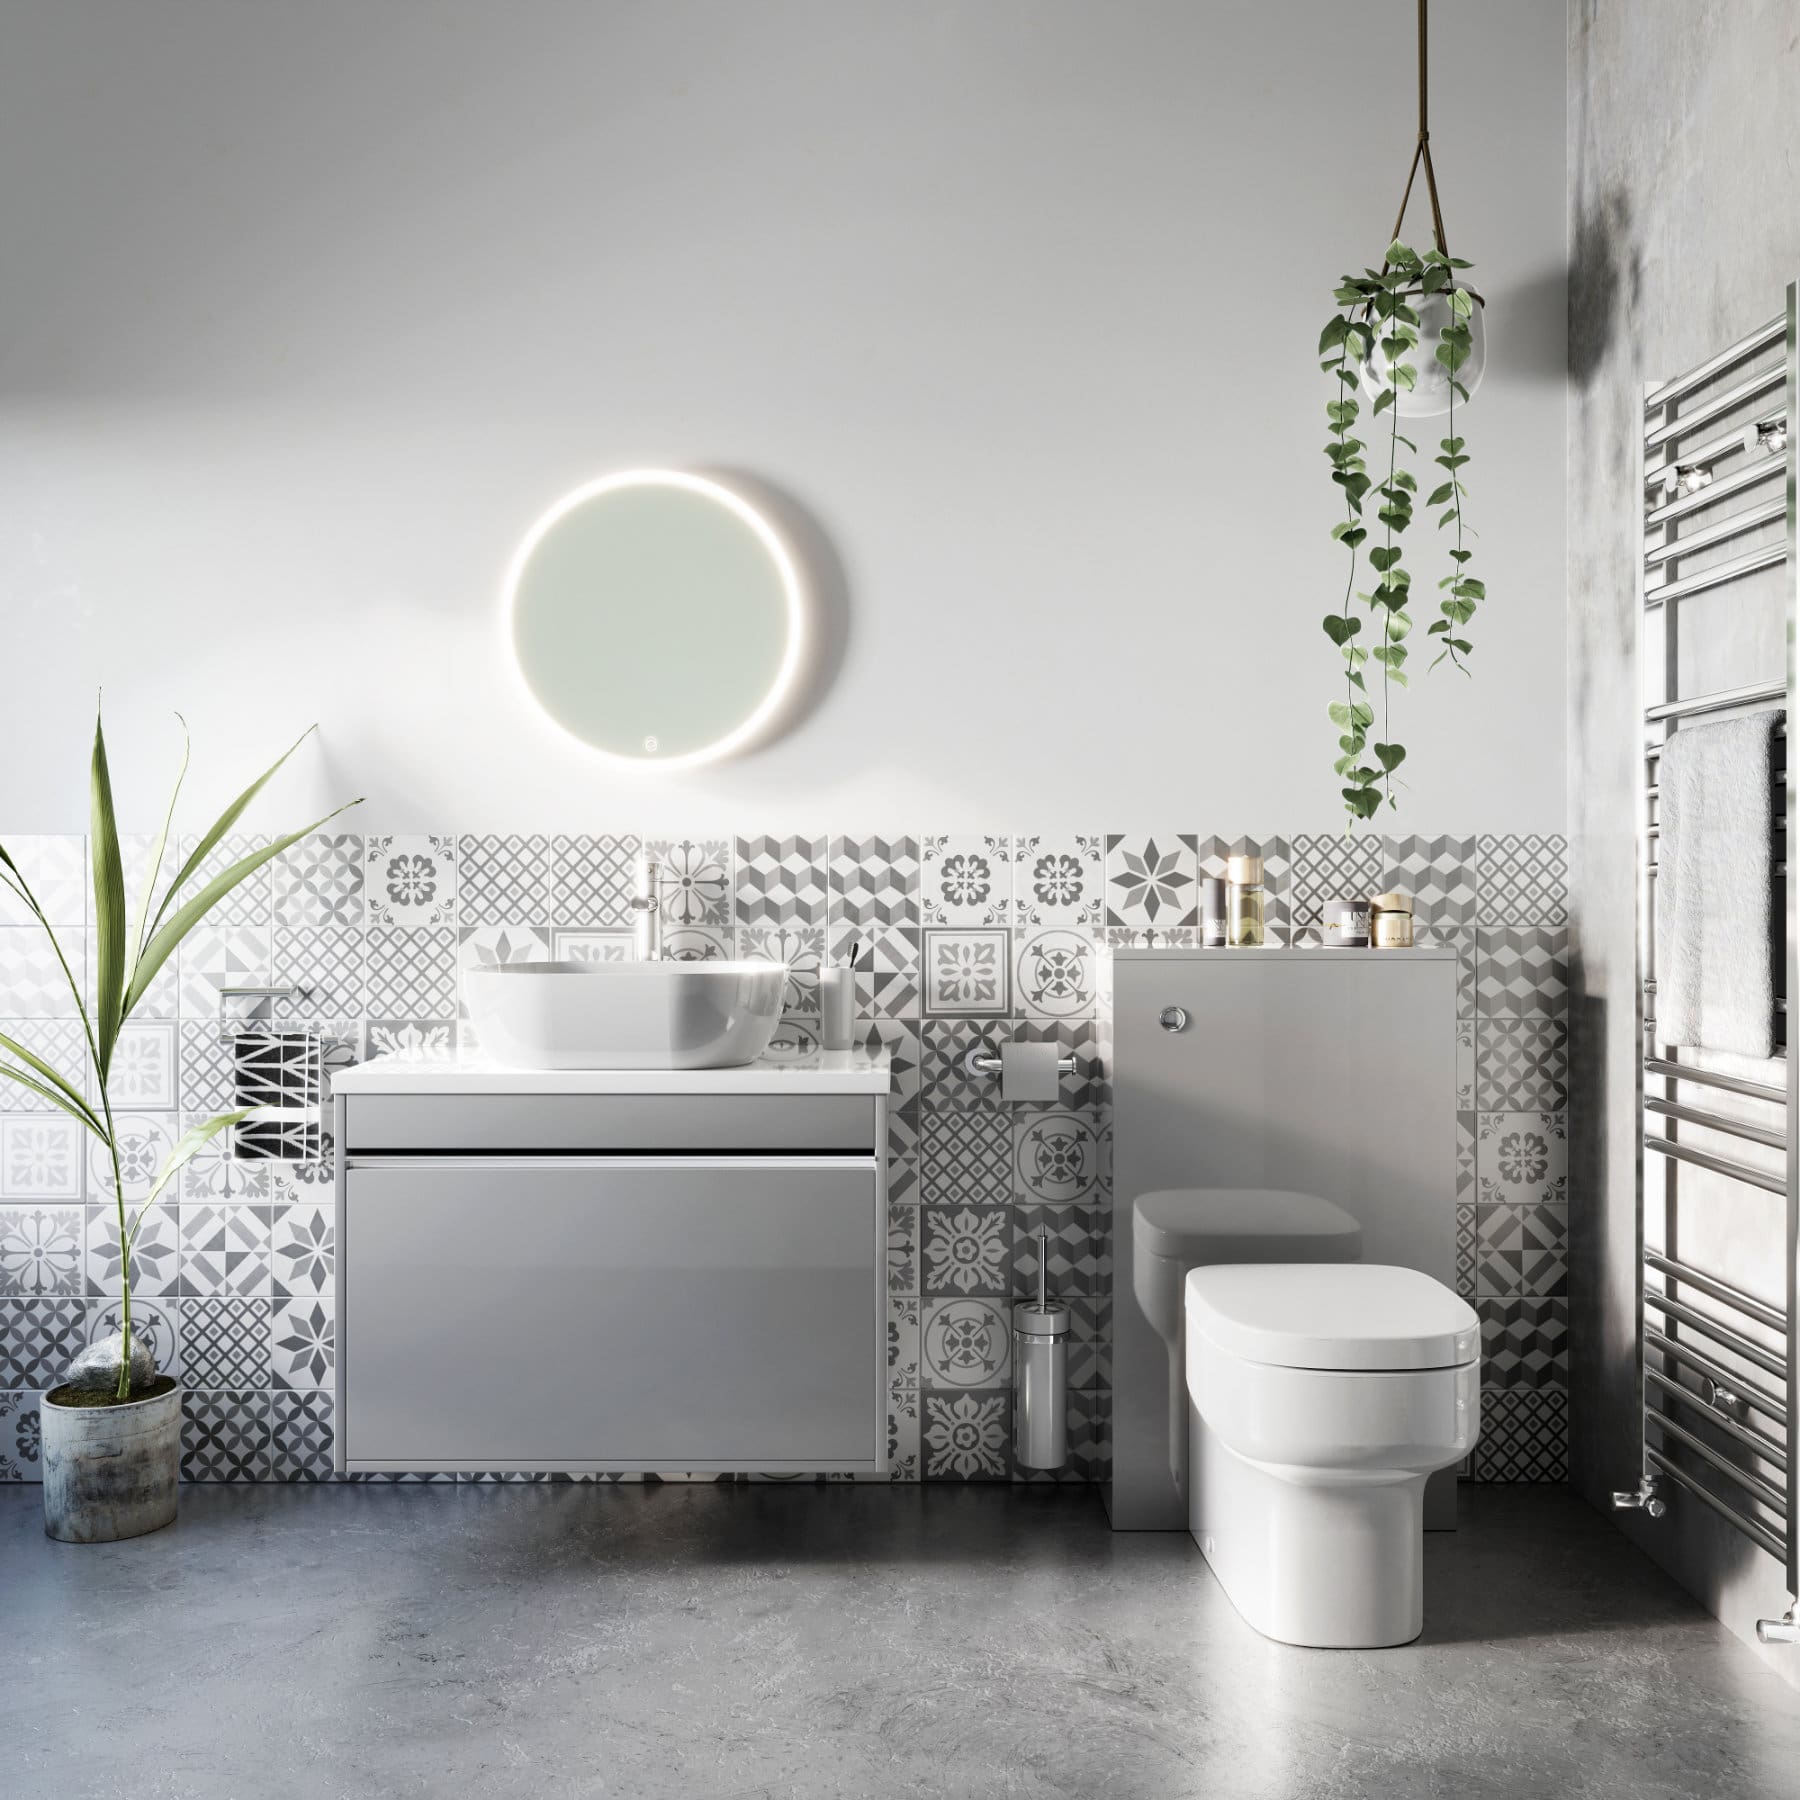
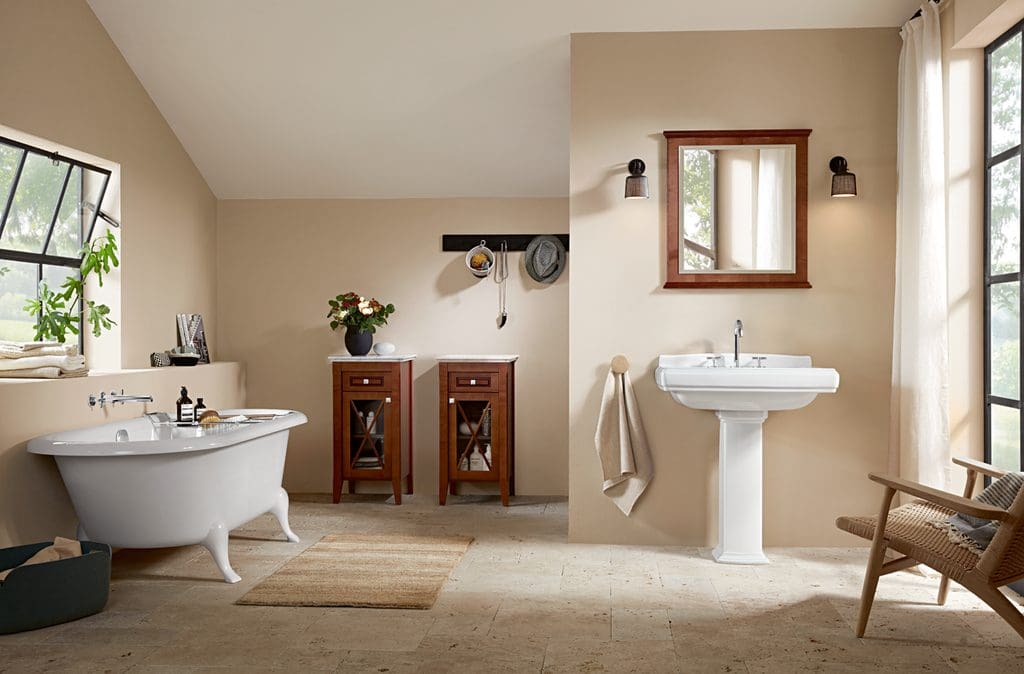
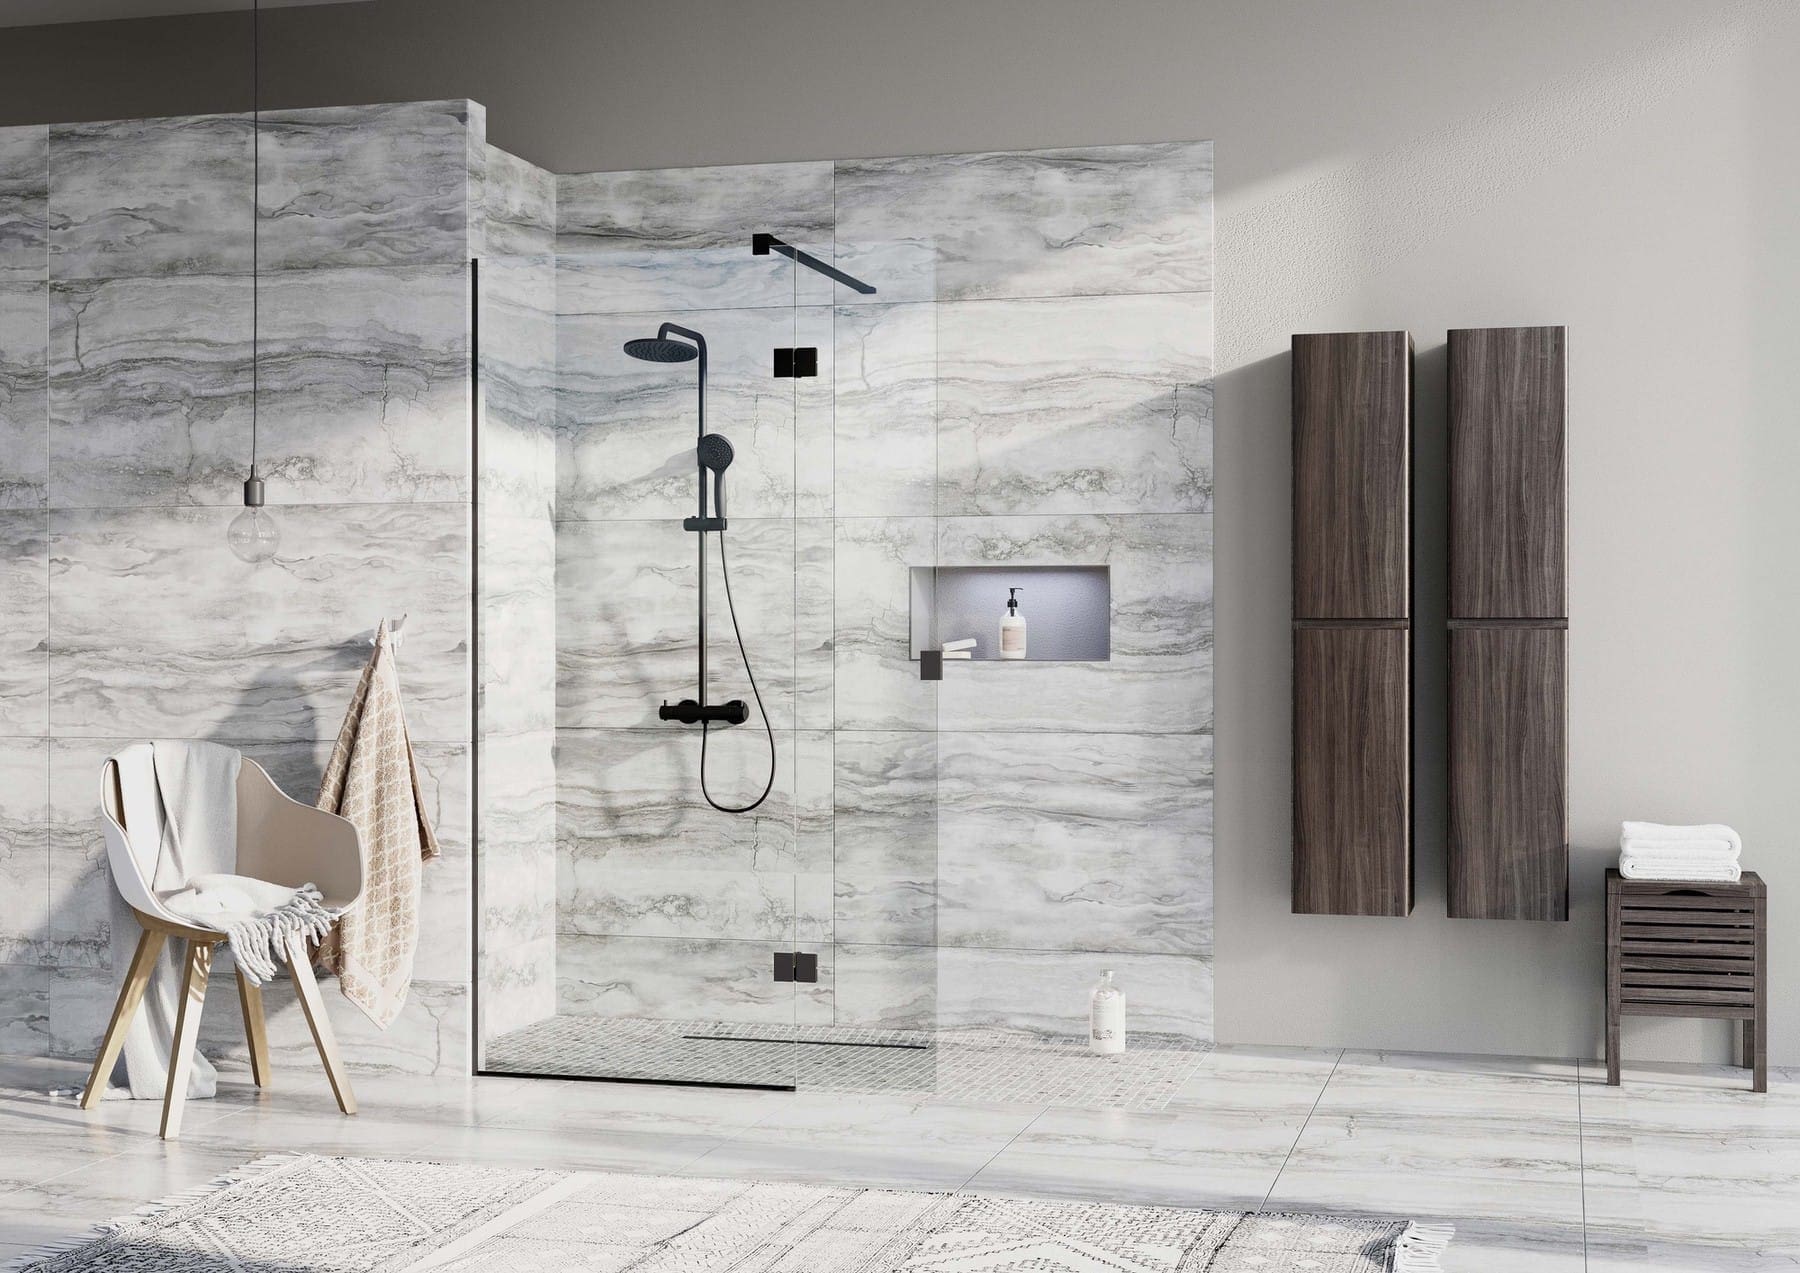
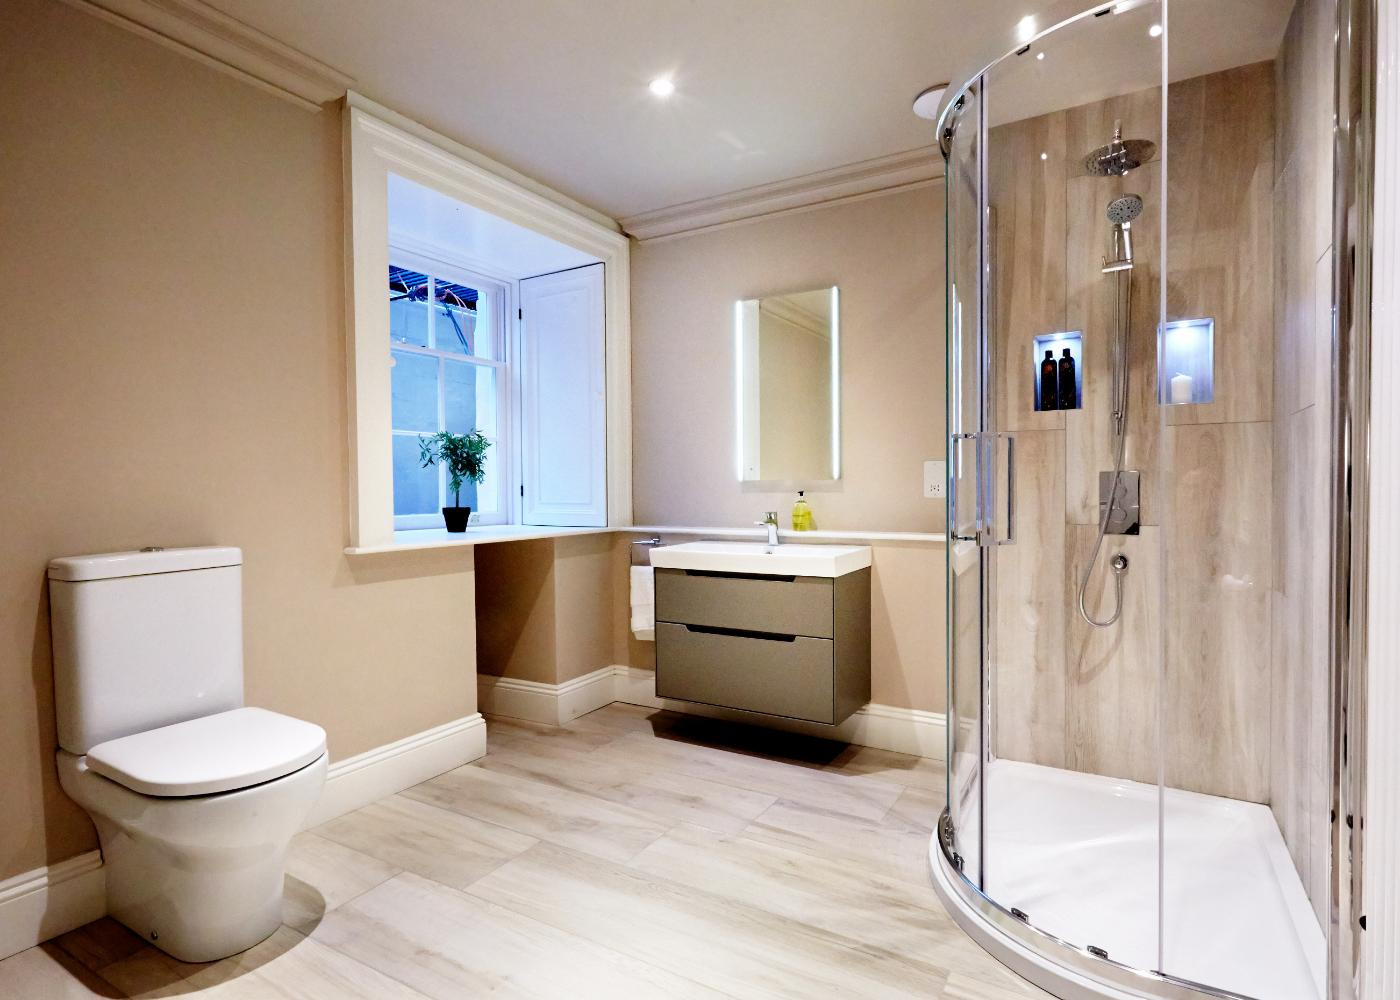
Our team stock a wide range of products to suit all tastes and budgets, from classic bathrooms to contemporary wetrooms and space-saving cloakrooms. We’re proud to supply many of the UK’s leading bathroom brands, including:
We also stock taps, toilets, basins, baths, showers, cabinets, mirrors, tiles, heating, and accessories – all under one roof.
And if you’re working with an interior designer, we’re happy to collaborate. Alternatively, if you’re looking for one, we can recommend designers we’ve worked with before to help bring your ideas to life.
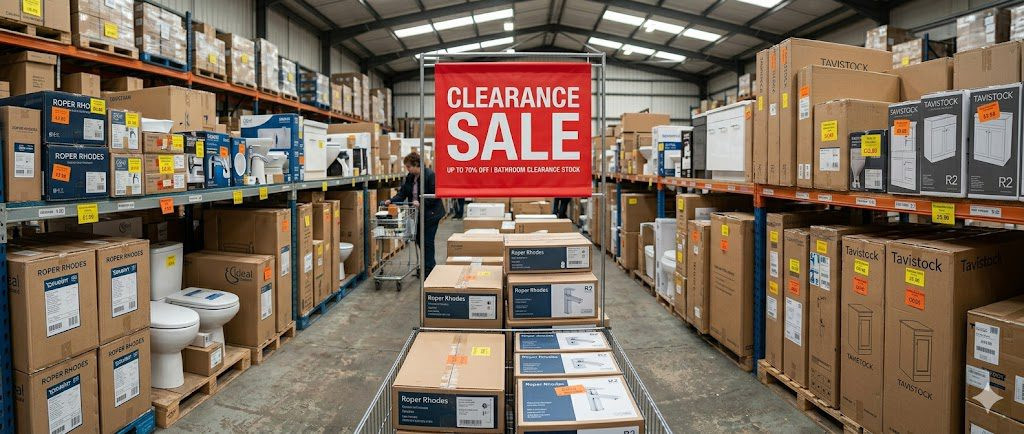
One-of-a-Kind Bathroom Clearance Outlet
Looking for top-quality products at reduced prices? Our bathroom showroom’s upstairs clearance area is packed with end-of-line, ex-display, and factory second items from trusted brands – with discounts of up to 90% off RRP.
Our clearance selection includes furniture, basins, toilets, worktops, bath panels, mirrors, mirror cabinets, and toilet seats. We’re also the sole clearance outlet for Roper Rhodes, Tavistock, R2, and more. We regularly update our clearance stock, so each visit is different. Some products are pristine whilst others may have minor imperfections – so we do advise visiting in person to inspect items before buying and give them your seal of approval.
You can also browse a selection of clearance products online via our eBay store. Most eBay items are overstock rather than seconds, but still offered at great prices.


Reliable Local Bathroom Delivery – With a Personal Touch
To make your life easier, we offer optional bathroom delivery using our own fleet of vans and experienced staff. Once your order is in stock, our Operations Manager will contact you to schedule a convenient delivery date. On the day, our driver will call ahead, assist you in checking items off the delivery note, and – if safe to do so – may help carry your order just inside the property. For large or heavy deliveries, a two-person team is provided so you won’t have to lift a thing.
Delivery is available throughout Bath and surrounding areas including: Bristol, Trowbridge, Bradford on Avon, Chippenham, Melksham, Frome, Yate, and more.
We can also offer deliveries further afield – up to 3.5 hours’ drive from Bath. Charges vary depending on distance and vehicle requirements, starting at £30 and going up to £350 for the furthest locations.
What Makes Us Different?
One of the largest independent bathroom showrooms in the South West
- Independent, family-run showroom
- Over 540 5-star Google reviews
- Non-commissioned, knowledgeable team
- Huge selection of bathroom brands and fittings
- Free design consultations and home surveys (within 15 miles)
- Realistic advice with no pressure to buy
- On-site clearance outlet with genuine bargains
- Personalised delivery service from our own team
- eBay clearance store for great-value overstock bargains
- Friendly and welcoming showroom with easy parking


Visit Our Luxury Bathroom Showroom in Bath Today
Total Bathrooms is located just off Brassmill Lane in Bath, with free on-site car parking and easy access from the A4 and A36. We’re open six days a week and always happy to help – whether you’re browsing for ideas or ready to start your project.
📍 Unit 2, Brassmill Lane Trading Estate, Bath BA1 3JF
📞 Call us to book a design consultation or home survey
🛒 Visit the showroom, browse the clearance, or check out our [eBay store] for more deals
Whatever stage you’re at, Total Bathrooms offers the support, quality, and service you need to make your bathroom project a beautiful and lasting success.
Clearance Sale Now On!
Looking for luxury bathroom products at unbeatable prices? Explore our Clearance Sale, where you’ll find great savings on factory seconds, ex-display items and end-of-line collections from leading bathroom brands. From mirror cabinets and bathroom furniture to brassware, shower systems, toilets and accessories, there’s always a wide range of discounted products to discover. With stock changing regularly and savings available across hundreds of items, it’s the perfect place to find premium bathroom solutions for less.


All staff I came in contact with were very friendly, helpful and professional. Dan worked very hard on my behalf and my new bathroom exceeded all expectations. A very big Thank you to Dan and all staff at Total Bathrooms.
I would highly recommend Total Bathrooms.


Ensuite ,Downstair Cloakroom and vanity unit in main bathroom now completed . Special thanks to Michelle for sorting out a few fitting issues for us . Very happy with everything due to her help ..
Would be happy to recommend Total Bathrooms


The product selection was extensive, offering a wide range of stylish and high-quality options to suit different tastes and budgets. The staff were incredibly knowledgeable (Dave, Rob & Michelle) and guided us through the choices with expertise, ensuring we found the perfect fit for our small ensuite.
Delivery was prompt. One of the items had a defect, but this was quickly replaced.
Our new ensuite looks fantastic, and the quality of the materials is evident—durable, elegant, and built to last.
We highly recommend Total Bathrooms to anyone looking for excellent bathroom supplies and top-notch customer service. We would use again!


The showroom was great and gave us lots of ideas. My only disappointment in the design process was that at the home survey I had stated I wanted 2 things firstly to remove the bath and just have a shower and secondly move the sink so I could have a mirror above. When we got to the showroom the first of Andy’s suggestions was to maintain our current layout and the 2nd to keep the layout but substitute the bath for a shower.
Putting that aside though Andy then helped design something which would work. I didn’t feel pressured or rushed and Andy was more than happy to go over things multiple times and answer any questions. He was clearly knowledgeable about the products offered and available.
I considered my options over the Christmas period and having spent time eyeing up other peoples bathrooms decided I wanted some changes to what we had previously designed.
Andy was super patient and booked us another appointment in the new year to go through and make adjustments. Again there was absolutely no pressure but I was happy to part with my money and order the goods.
Aqua bathrooms who Total directed us to for fitting were brilliant and all the goods from Total arrived on schedule with the fitters also on time and schedule.
I’m super happy with my final bathroom and the service I got from Total.


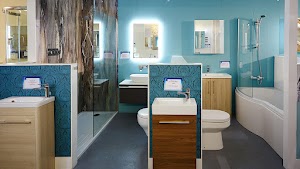
Bath Bathroom Showroom
At our spacious showroom in Bath, you will find two floors and over 70 displays showcasing our wide range of bathroom options! We offer everything from from fully fitted bathroom suites to individual items like basins, taps, toilets, mirrors, and accessories. Please feel free to book an appointment to ensure one of our expert team members can dedicate time to your project!
Contact Us
Opening Hours
- Monday – Friday: 8:30am – 5pm
- Saturday: 9am – 5pm
- Sunday: Closed
Total Bathrooms Service Areas
Showroom Amenities
Our bathroom showroom in Bath is conveniently located just off the A4, with plenty of free customer parking outside. If you’re coming from Bristol, it’s an easy journey along the A4 or A36, making us a convenient choice for those seeking bespoke bathroom showrooms near Bristol as well as Bath.